A basic HTTP server
Now that the skeleton structure for our project is in place, let’s focus our attention on getting an HTTP server up and running.
To start with, we’ll configure our server to have just one endpoint: /v1/healthcheck. This endpoint will return some basic information about our API, including its current version number and operating environment (development, staging, production, etc.).
| URL Pattern | Handler | Action |
|---|---|---|
| /v1/healthcheck | healthcheckHandler | Show application information |
If you’re following along, open up the cmd/api/main.go file and replace the ‘hello world’ application with the following code:
package main

import (
    "flag"
    "fmt"
    "log/slog"
    "net/http"
    "os"
    "time"
)

// Declare a string containing the application version number. Later in the book we'll
// generate this automatically at build time, but for now we'll just store the version
// number as a hard-coded global constant.
const version = "1.0.0"

// Define a config struct to hold all the configuration settings for our application.
// For now, the only configuration settings will be the network port that we want the
// server to listen on, and the name of the current operating environment for the
// application (development, staging, production, etc.). We will read in these
// configuration settings from command-line flags when the application starts.
type config struct {
    port int
    env  string
}

// Define an application struct to hold the dependencies for our HTTP handlers, helpers,
// and middleware. At the moment this only contains a copy of the config struct and a
// logger, but it will grow to include a lot more as our build progresses.
type application struct {
    config config
    logger *slog.Logger
}

func main() {
    // Declare an instance of the config struct.
    var cfg config

    // Read the value of the port and env command-line flags into the config struct. We
    // default to using the port number 4000 and the environment "development" if no
    // corresponding flags are provided.
    flag.IntVar(&cfg.port, "port", 4000, "API server port")
    flag.StringVar(&cfg.env, "env", "development", "Environment (development|staging|production)")
    flag.Parse()

    // Initialize a new structured logger which writes log entries to the standard out
    // stream.
    logger := slog.New(slog.NewTextHandler(os.Stdout, nil))

    // Declare an instance of the application struct, containing the config struct and
    // the logger.
    app := &application{
        config: cfg,
        logger: logger,
    }

    // Declare a new servemux and add a /v1/healthcheck route which dispatches requests
    // to the healthcheckHandler method (which we will create in a moment).
    mux := http.NewServeMux()
    mux.HandleFunc("/v1/healthcheck", app.healthcheckHandler)

    // Declare an HTTP server which listens on the port provided in the config struct,
    // uses the servemux we created above as the handler, has some sensible timeout
    // settings, and writes any log messages to the structured logger at Error level.
    srv := &http.Server{
        Addr:         fmt.Sprintf(":%d", cfg.port),
        Handler:      mux,
        IdleTimeout:  time.Minute,
        ReadTimeout:  5 * time.Second,
        WriteTimeout: 10 * time.Second,
        ErrorLog:     slog.NewLogLogger(logger.Handler(), slog.LevelError),
    }

    // Start the HTTP server.
    logger.Info("starting server", "addr", srv.Addr, "env", cfg.env)

    err := srv.ListenAndServe()
    logger.Error(err.Error())
    os.Exit(1)
}
Creating the healthcheck handler
The next thing we need to do is create the healthcheckHandler method for responding to HTTP requests. For now, we’ll keep the logic in this handler really simple and have it return a plain-text response containing three pieces of information:
- A fixed
"status: available"string. - The API version from the hard-coded
versionconstant. - The operating environment name from the
envcommand-line flag.
Go ahead and create a new cmd/api/healthcheck.go file:
$ touch cmd/api/healthcheck.go
And then add the following code:
package main

import (
    "fmt"
    "net/http"
)

// Declare a handler which writes a plain-text response with information about the
// application status, operating environment and version.
func (app *application) healthcheckHandler(w http.ResponseWriter, r *http.Request) {
    fmt.Fprintln(w, "status: available")
    fmt.Fprintf(w, "environment: %s\n", app.config.env)
    fmt.Fprintf(w, "version: %s\n", version)
}
The important thing to point out here is that healthcheckHandler is implemented as a method on our application struct.
This is an effective and idiomatic way to make dependencies available to our handlers without resorting to global variables or closures — any dependency that the healthcheckHandler needs can simply be included as a field in the application struct when we initialize it in main().
We can see this pattern already being used in the code above, where the operating environment name is retrieved from the application struct by calling app.config.env.
Demonstration
OK, let’s try this out. Make sure that all your changes are saved, then use the go run command again to execute the cmd/api package code. You should see a log message confirming that the HTTP server is running, similar to this:
$ go run ./cmd/api
time=2023-09-10T10:59:13.722+02:00 level=INFO msg="starting server" addr=:4000 env=development
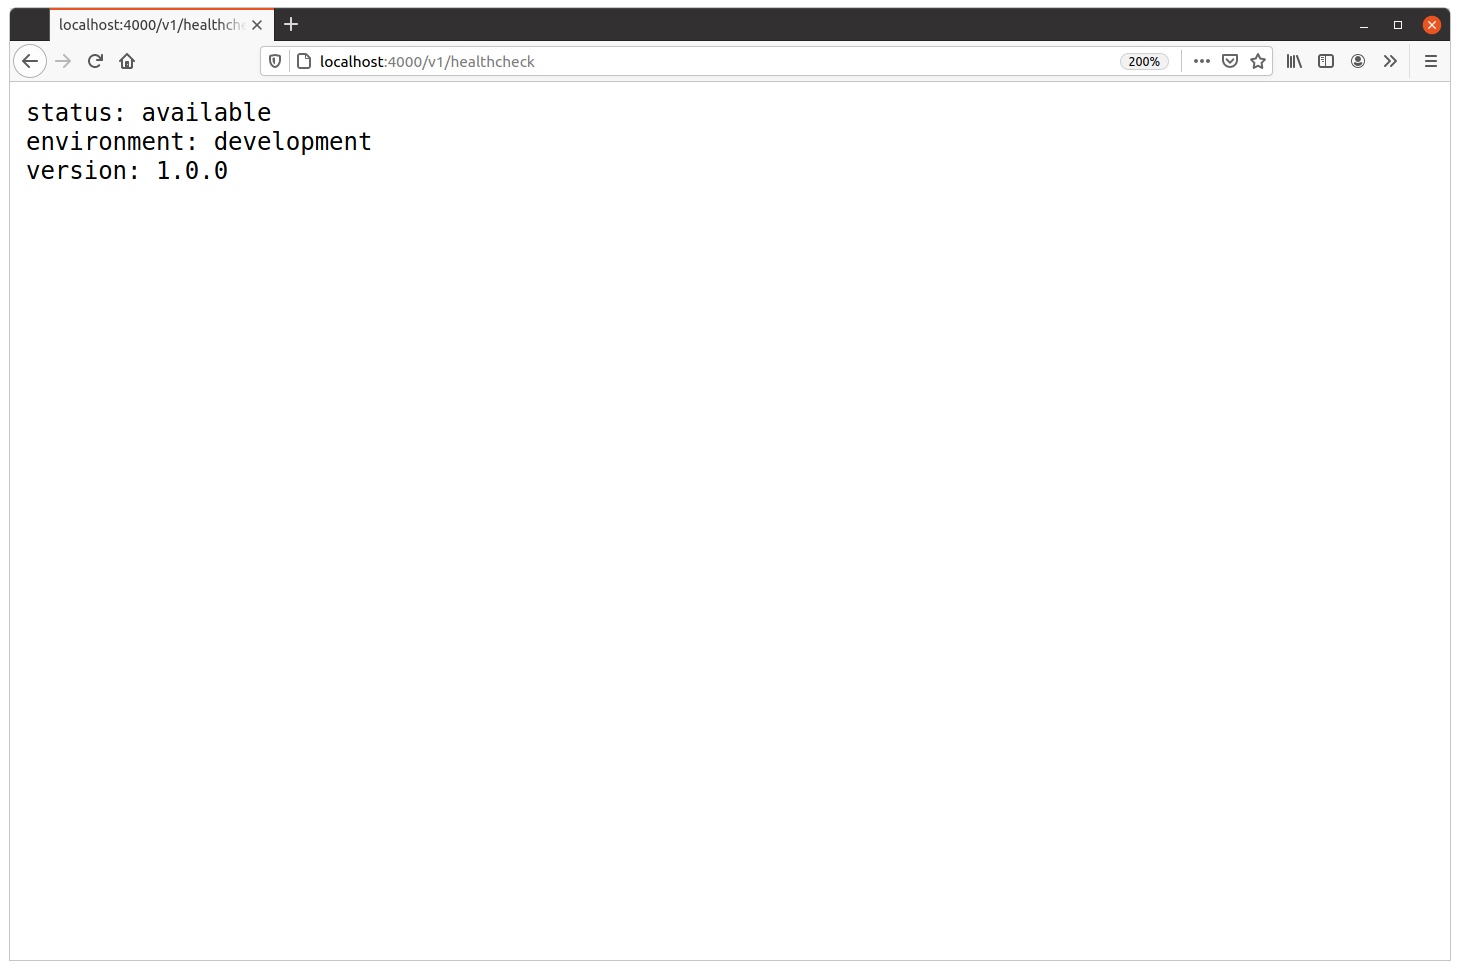
While the server is running, go ahead and try visiting localhost:4000/v1/healthcheck in your web browser. You should get a response from the healthcheckHandler which looks like this:
Alternatively, you can use curl to make the request from your terminal:
$ curl -i localhost:4000/v1/healthcheck
HTTP/1.1 200 OK
Date: Mon, 05 Apr 2021 17:46:14 GMT
Content-Length: 58
Content-Type: text/plain; charset=utf-8

status: available
environment: development
version: 1.0.0
If you want, you can also verify that the command-line flags are working correctly by specifying alternative port and env values when starting the application. When you do this, you should see the contents of the log message change accordingly. For example:
$ go run ./cmd/api -port=3030 -env=production
time=2023-09-10T10:59:13.722+02:00 level=INFO msg="starting server" addr=:3030 env=production
Additional information
API versioning
APIs which support real-world businesses and users often need to change their functionality and endpoints over time — sometimes in a backward-incompatible way. So, to avoid problems and confusion for clients, it’s a good idea to always implement some form of API versioning.
There are two common approaches to doing this:
- By prefixing all URLs with your API version, like
/v1/healthcheckor/v2/healthcheck. - By using custom
AcceptandContent-Typeheaders on requests and responses to convey the API version, likeAccept: application/vnd.greenlight-v1.
From an HTTP semantics point of view, using headers to convey the API version is the ‘purer’ approach. But from a user-experience point of view, using a URL prefix is arguably better. It makes it possible for developers to see which version of the API is being used at a glance, and it also means that the API can still be explored using a regular web browser (which is harder if custom headers are required).
Throughout this book we’ll version our API by prefixing all the URL paths with /v1/ — just like we did with the /v1/healthcheck endpoint in this chapter.